Welcome to Painting Explorer’s documentation!(Version 2.0.0)
Tutorial
Creating a User
From the admin panel of the application, login with a username and password.
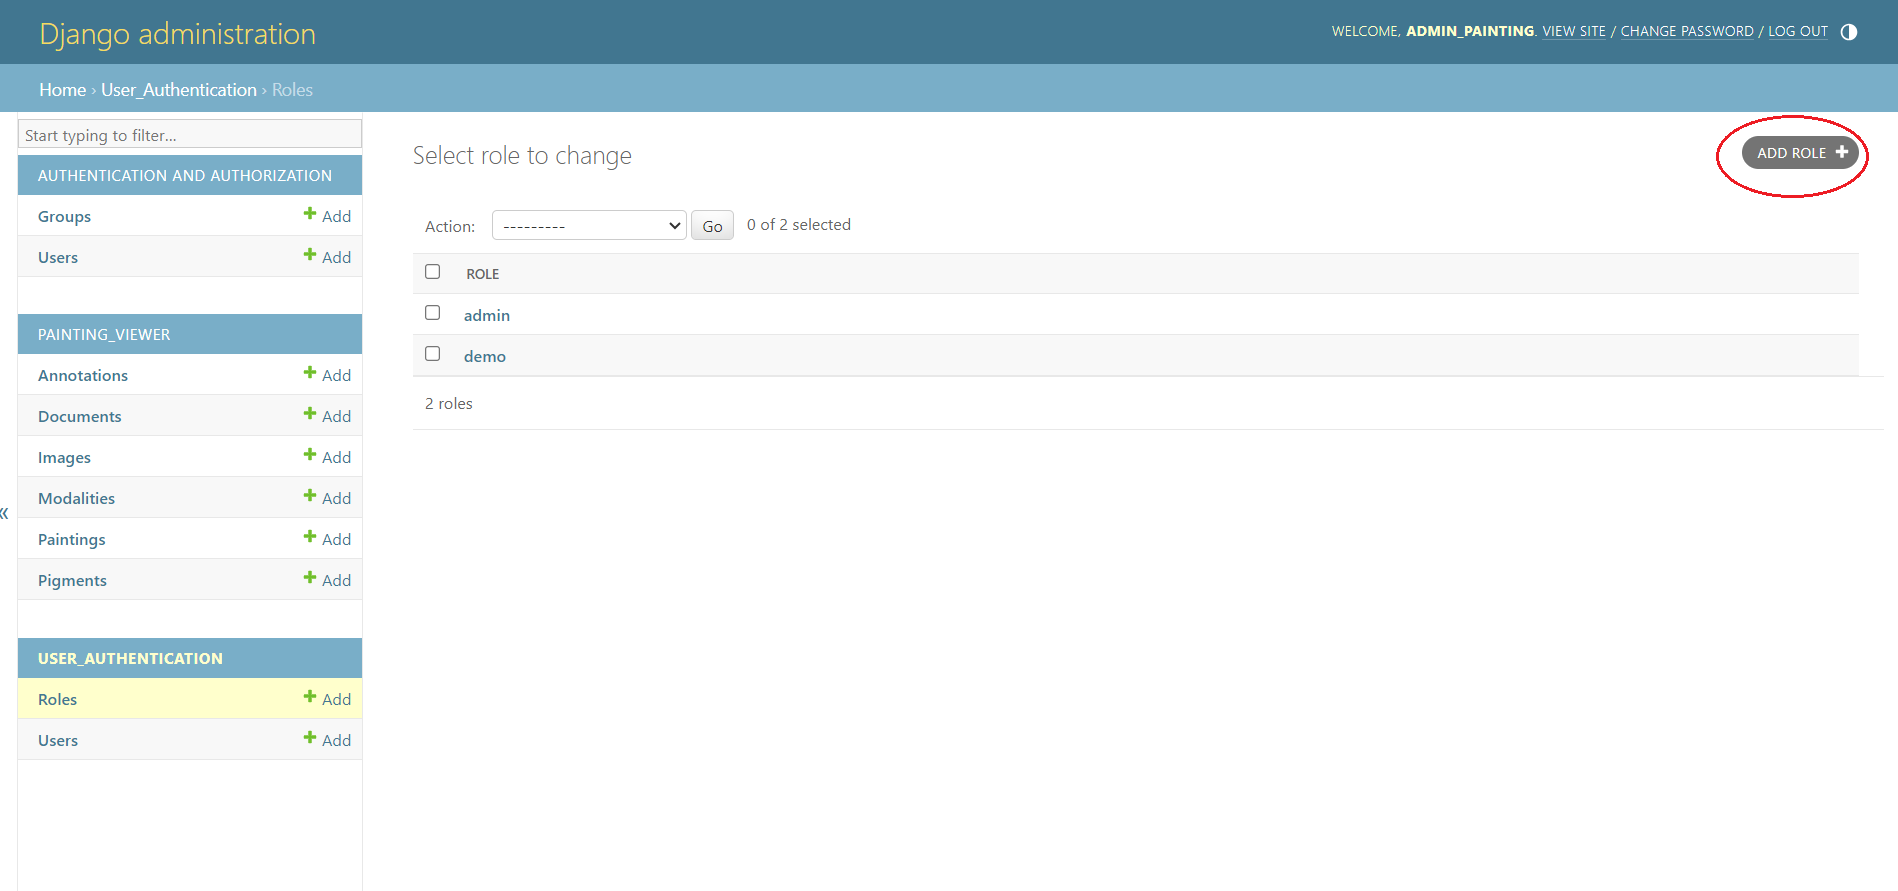
After logging in, a role can be created by clicking on add role button.
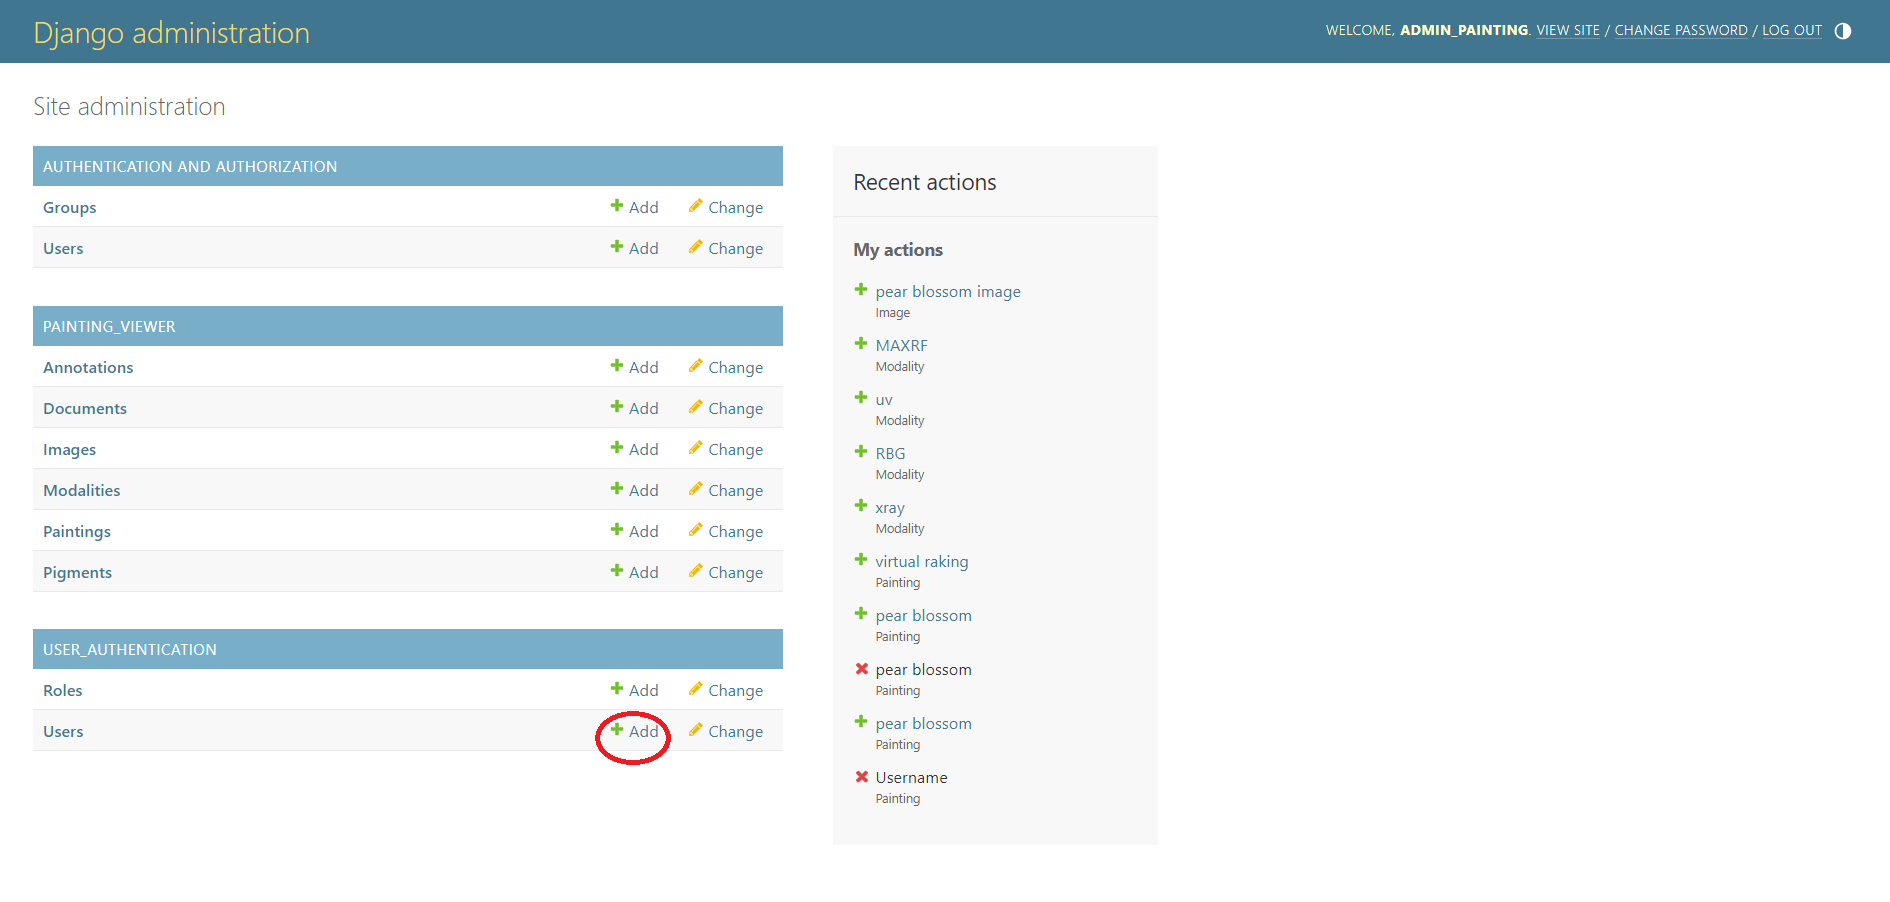
A user can be created by clicking on add user button.
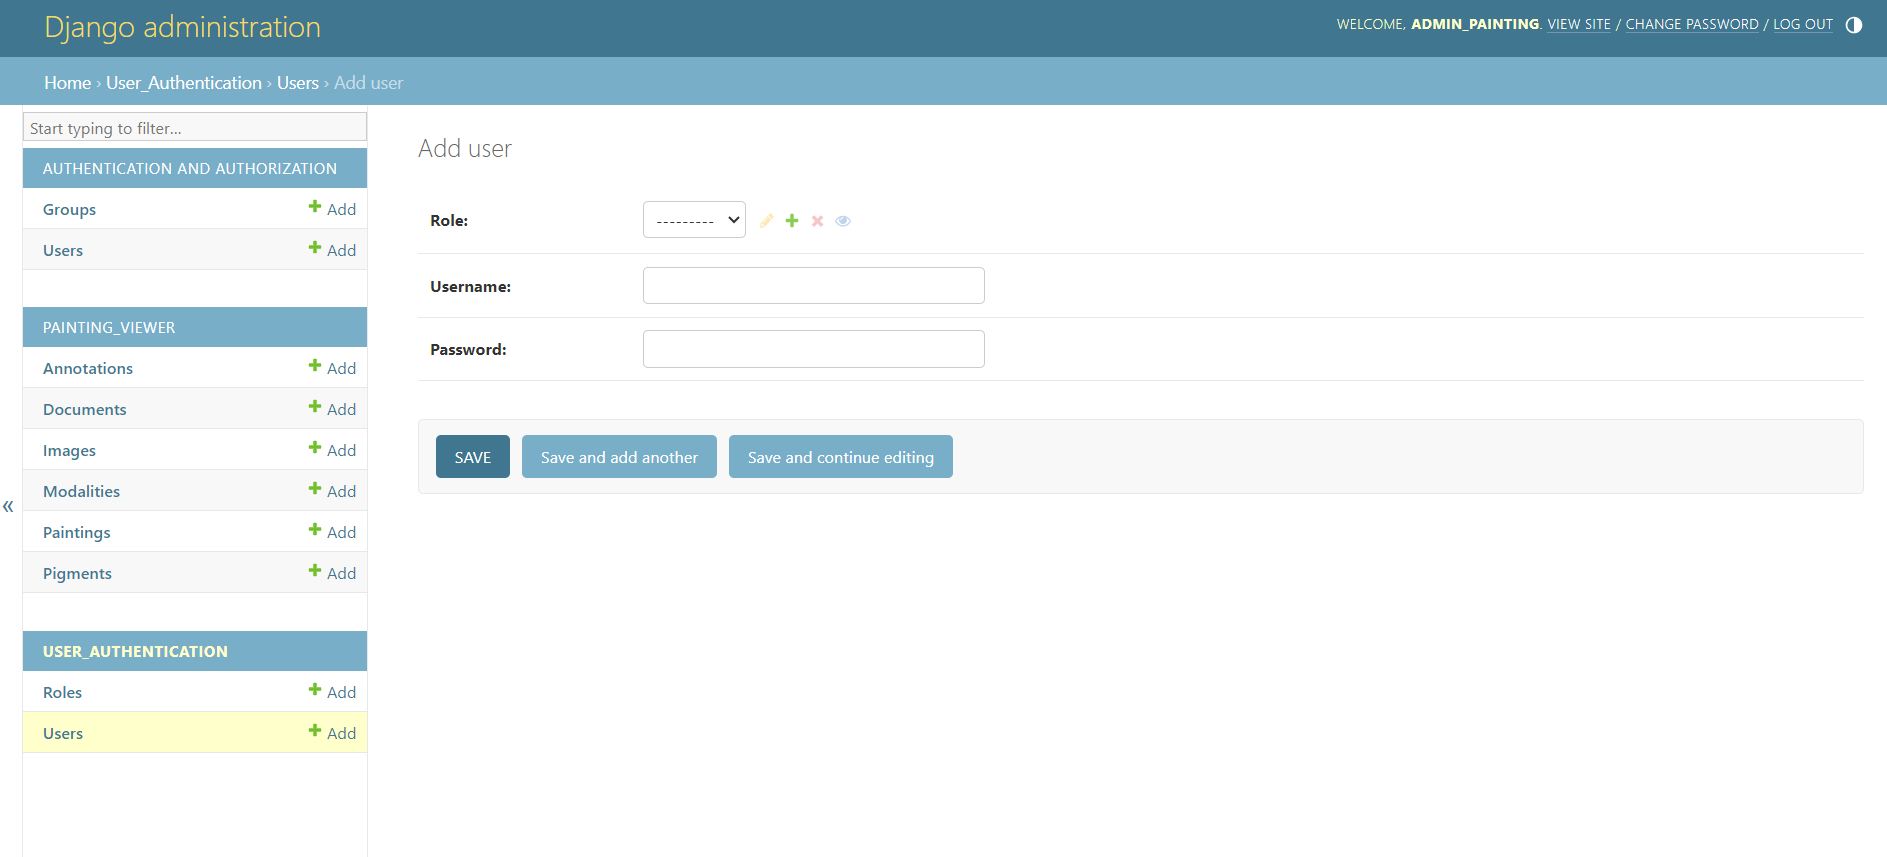
The username and password for the new user can be entered and saved. After the username
and password is created, the new credentials can be used to login to the painting viewer account.
Uploading painting
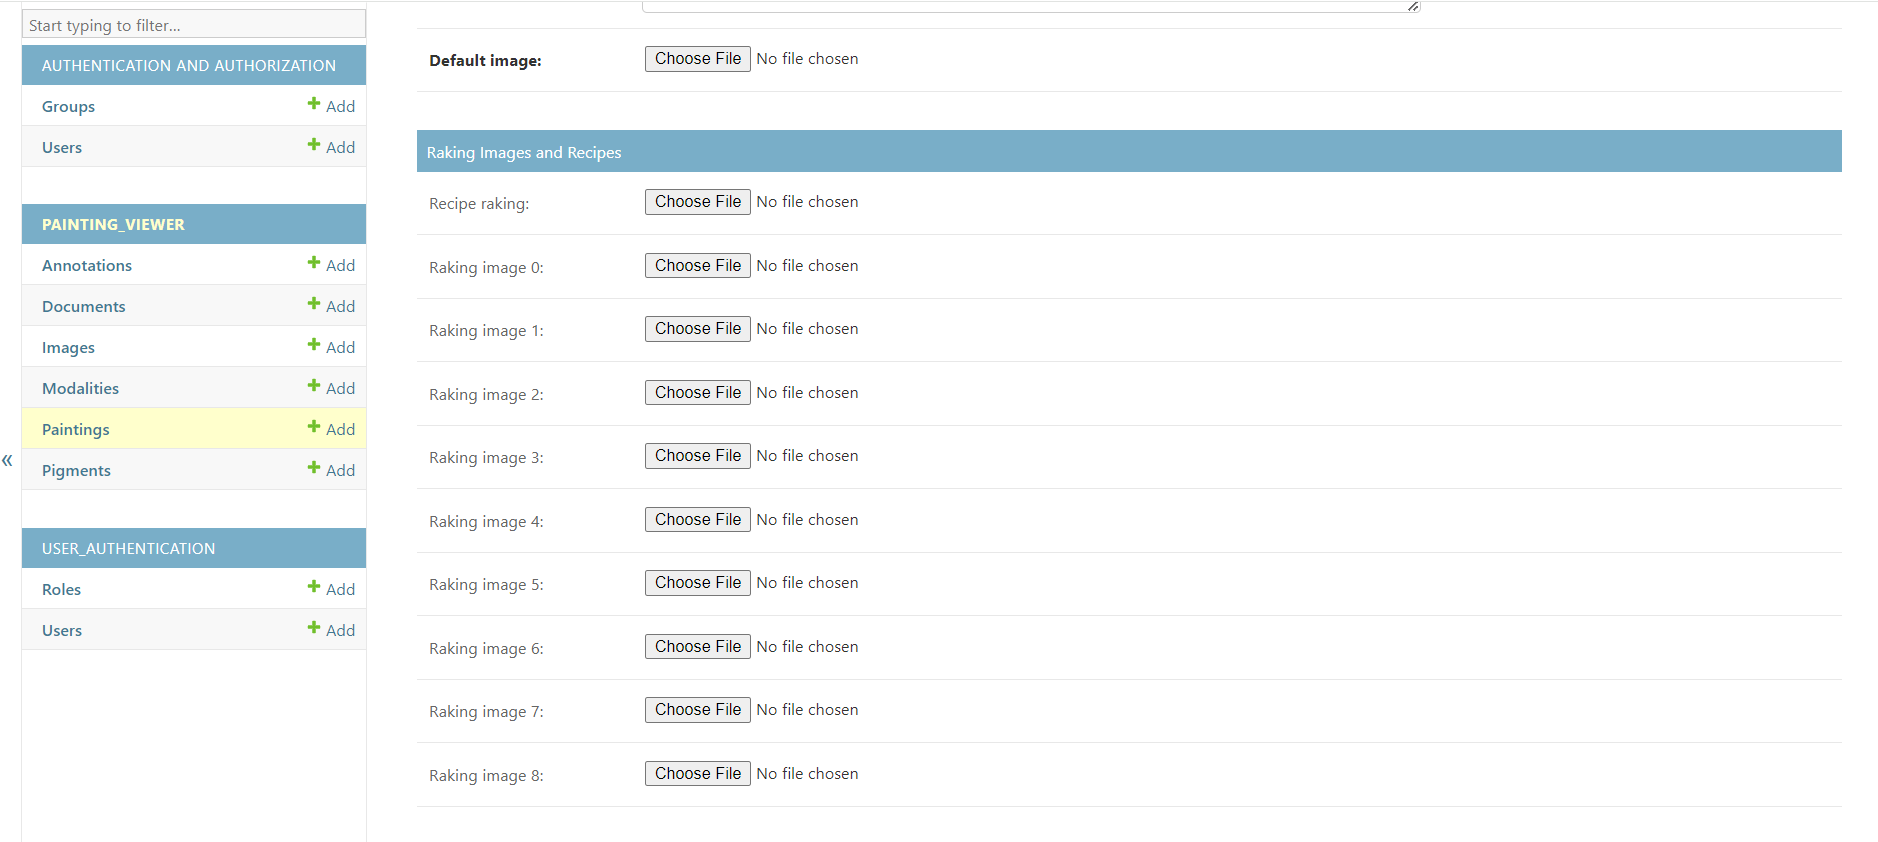
When we go into paintings, we see a list of existing paintings. We can click on them or add a new painting. The painting that we add here can be seen when we login to the painting viewer application.
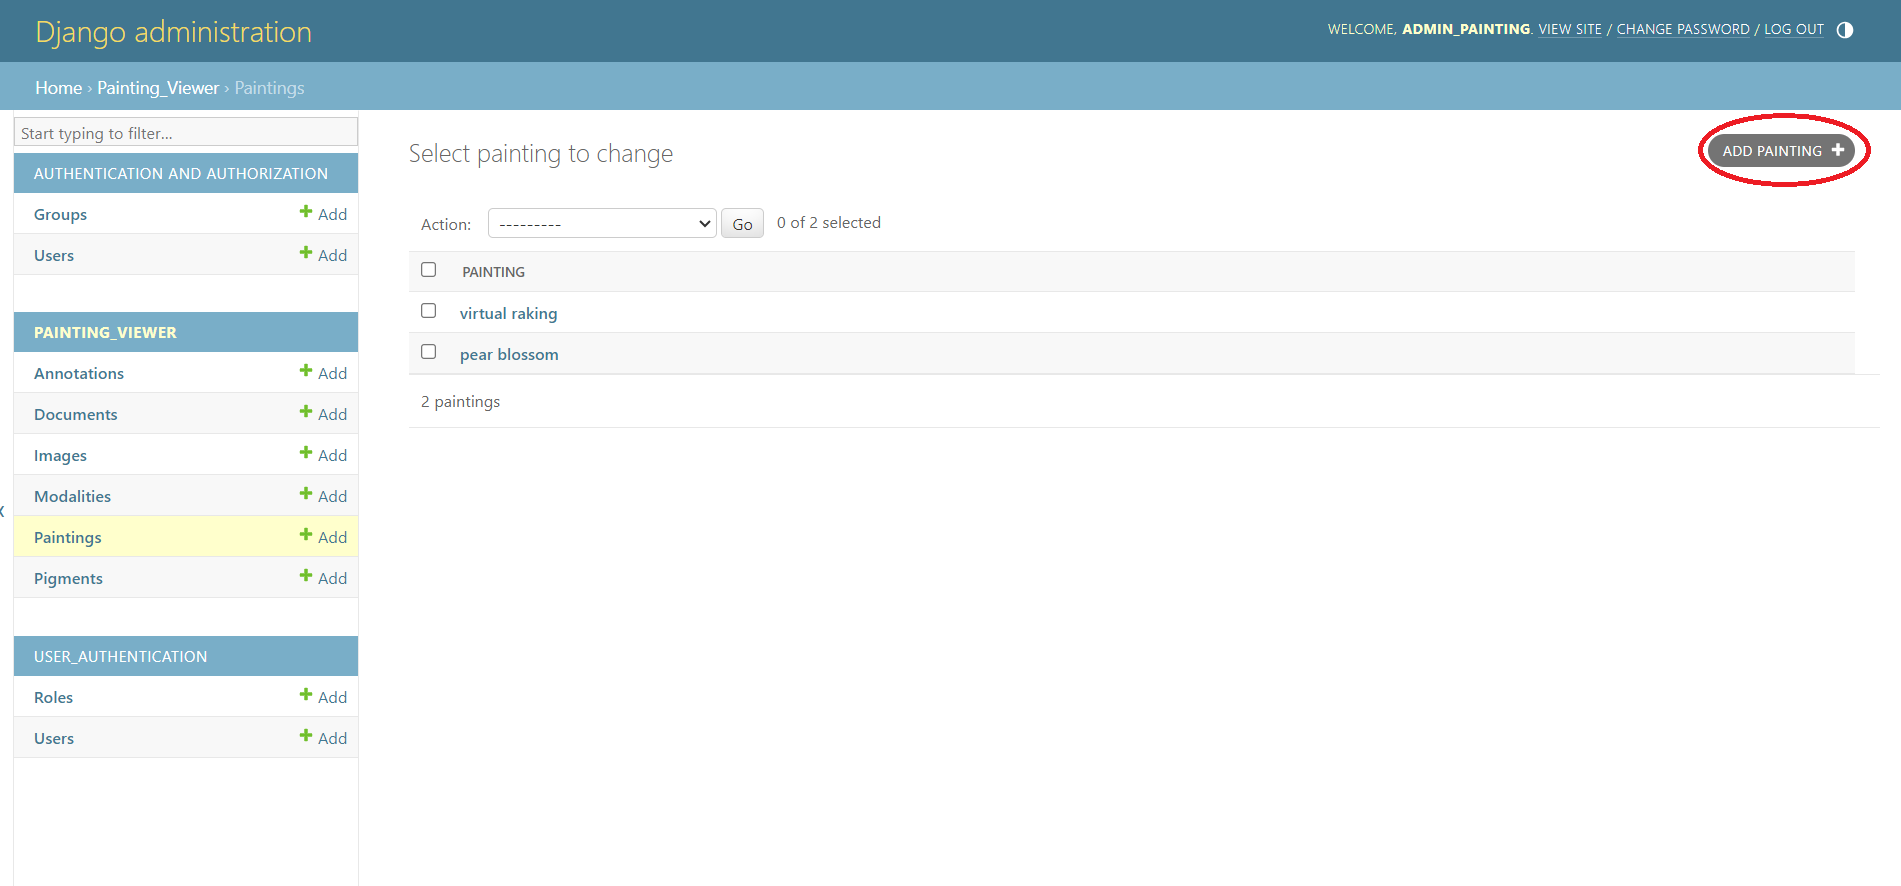
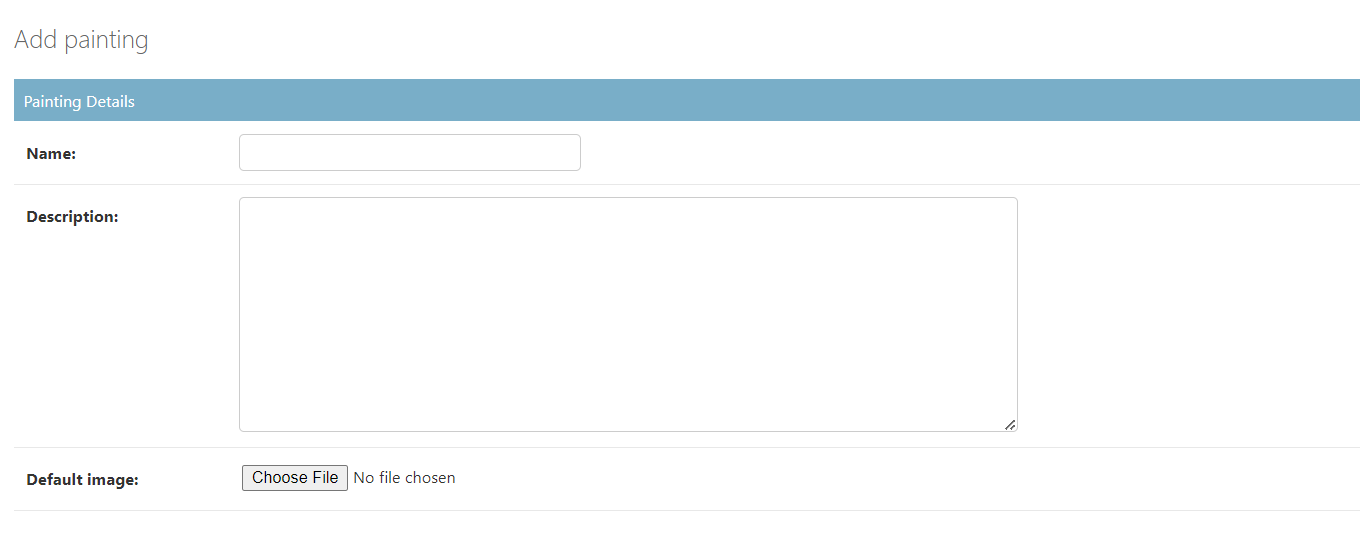
When we click on add painting button, we include the details of the painting such as the name of the painting, description, default image, recipe raking and the rest of the raking images.
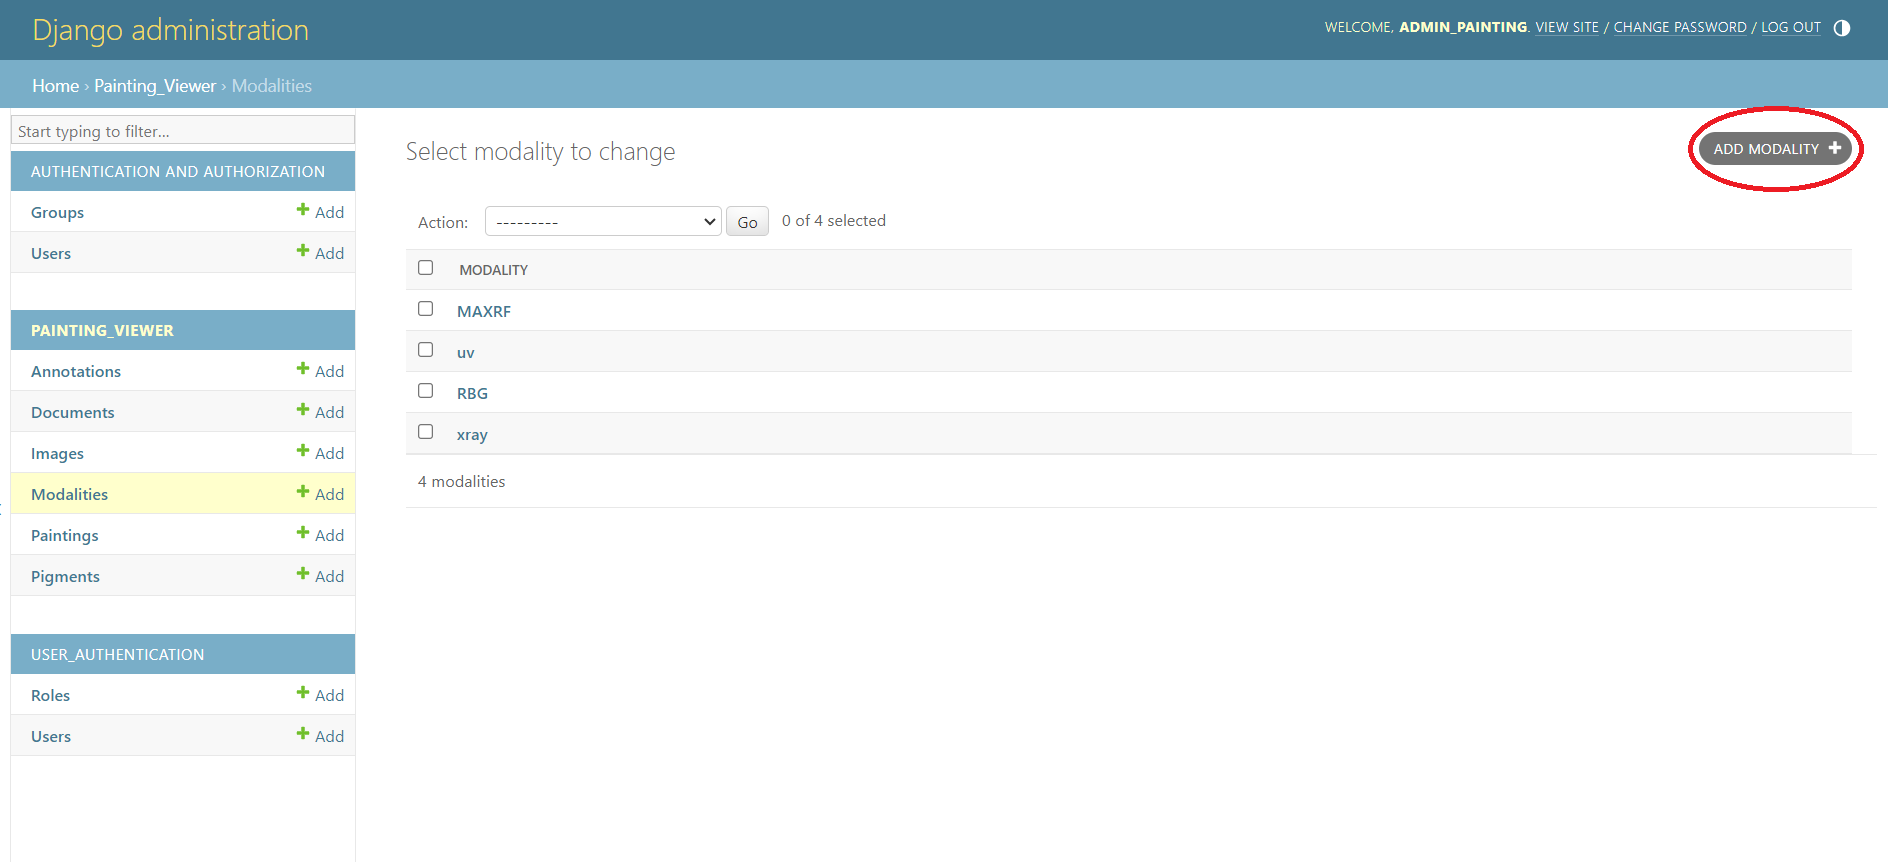
Modalities
The different modalities for an image such as XRAY, UV, MAXRF can be included by adding them here.
Creating a recipe file
In order to create a recipe file, use the butterfly registrator app.
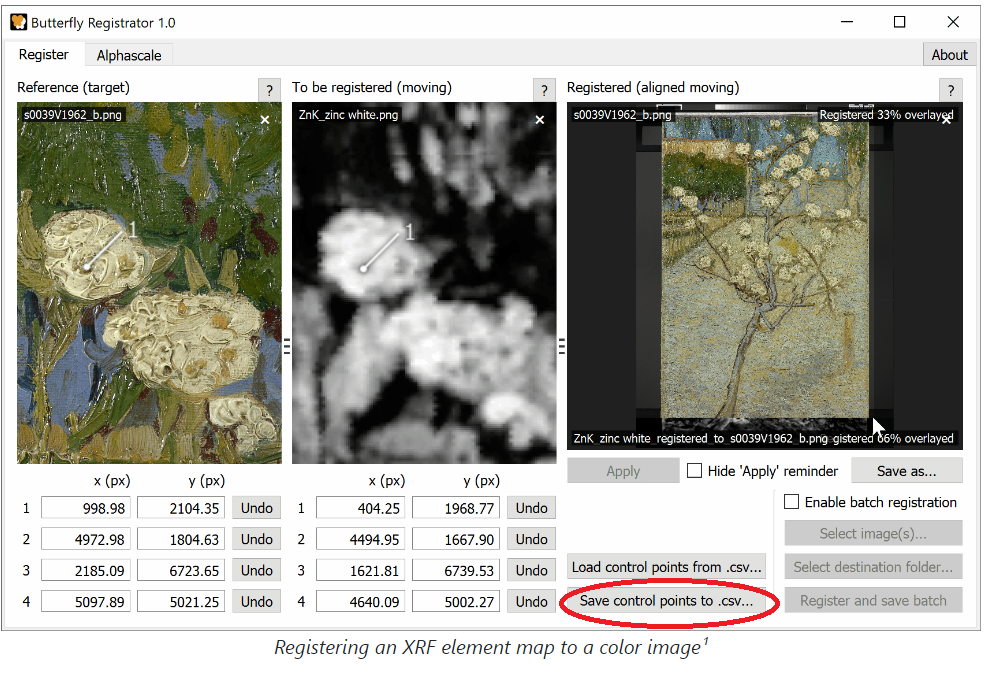
The tutorial for the app can be found here
Registration can be summarised as follows:
1. Select the reference
2. Load the image you wish to align (register) to that reference
3. Resize and pad that image to the dimensions of the reference
4. Drag the pairs of control points on both images
5. Apply a perspective transform
6. Compare the registered image with the reference
7. Repeat steps 4–6 to refine the registration
Raking Images
The file generated from registering the images is used as a recipe in raking images.
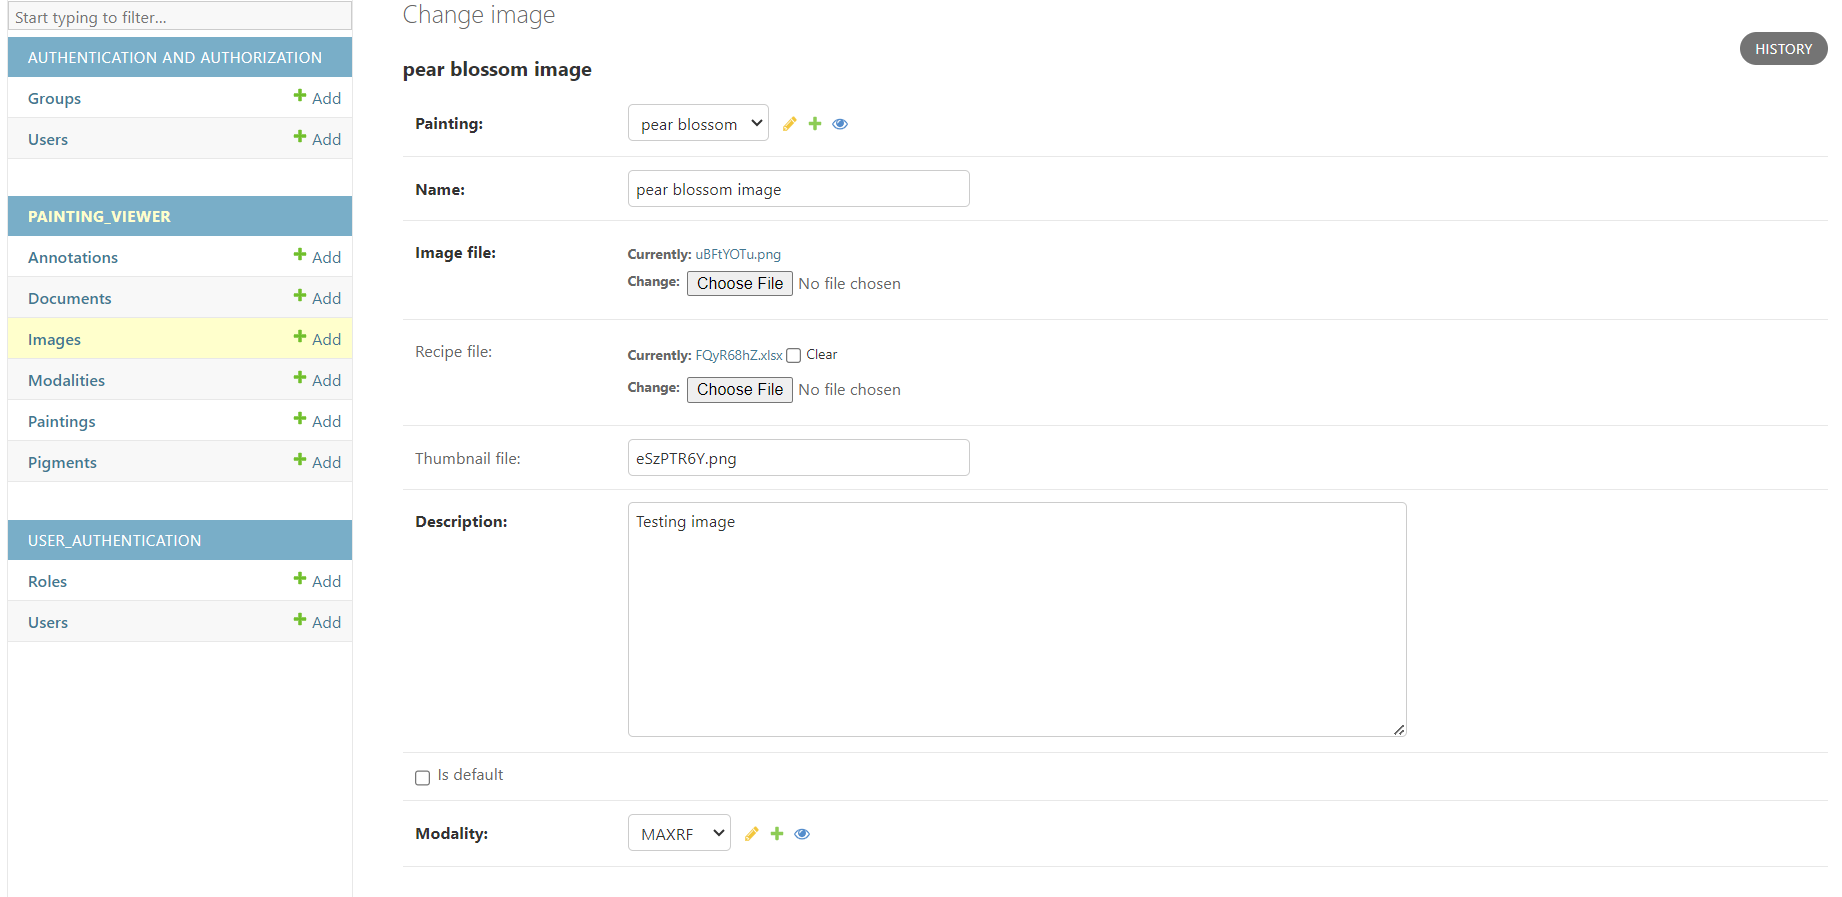
Images
Images can be added by clicking on the add image button.
Using the painting viewer application
Login using the username and password

After logging in, you will see the image of the painting as below
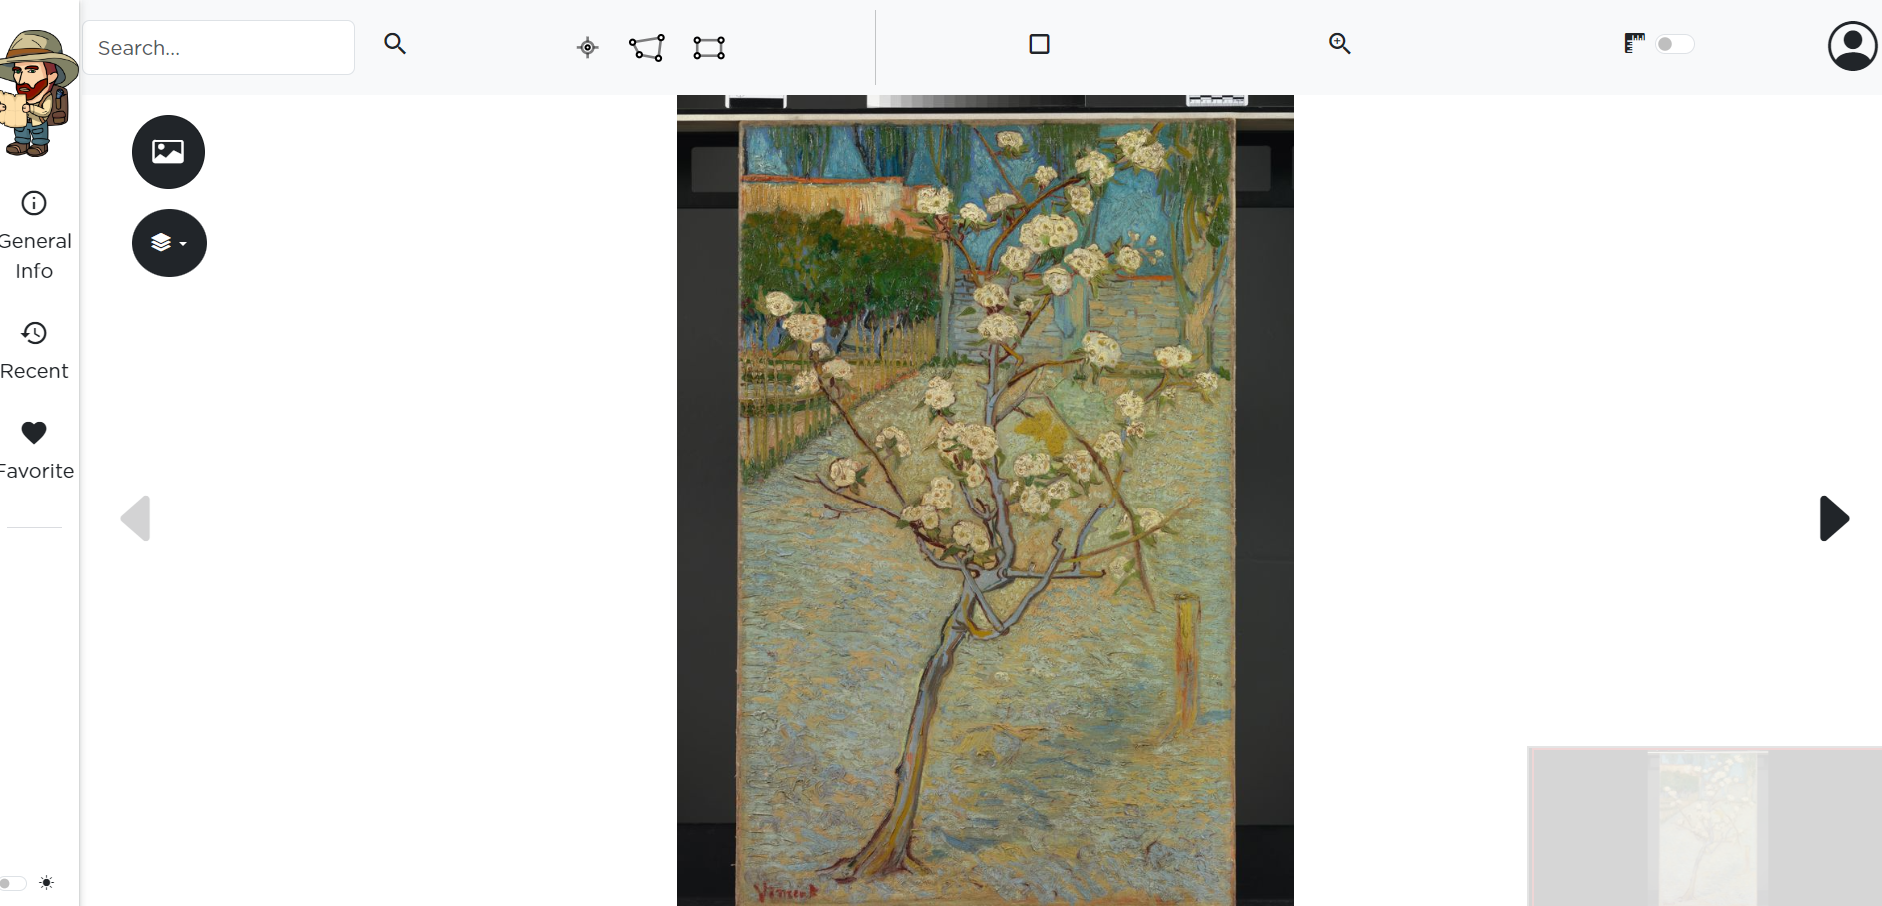
When the image button is clicked, we can see the default image uploaded in the admin panel. We can also see the pear blossom image. The panel below also has features like split view, overlay and raking view as highlighted in the image.

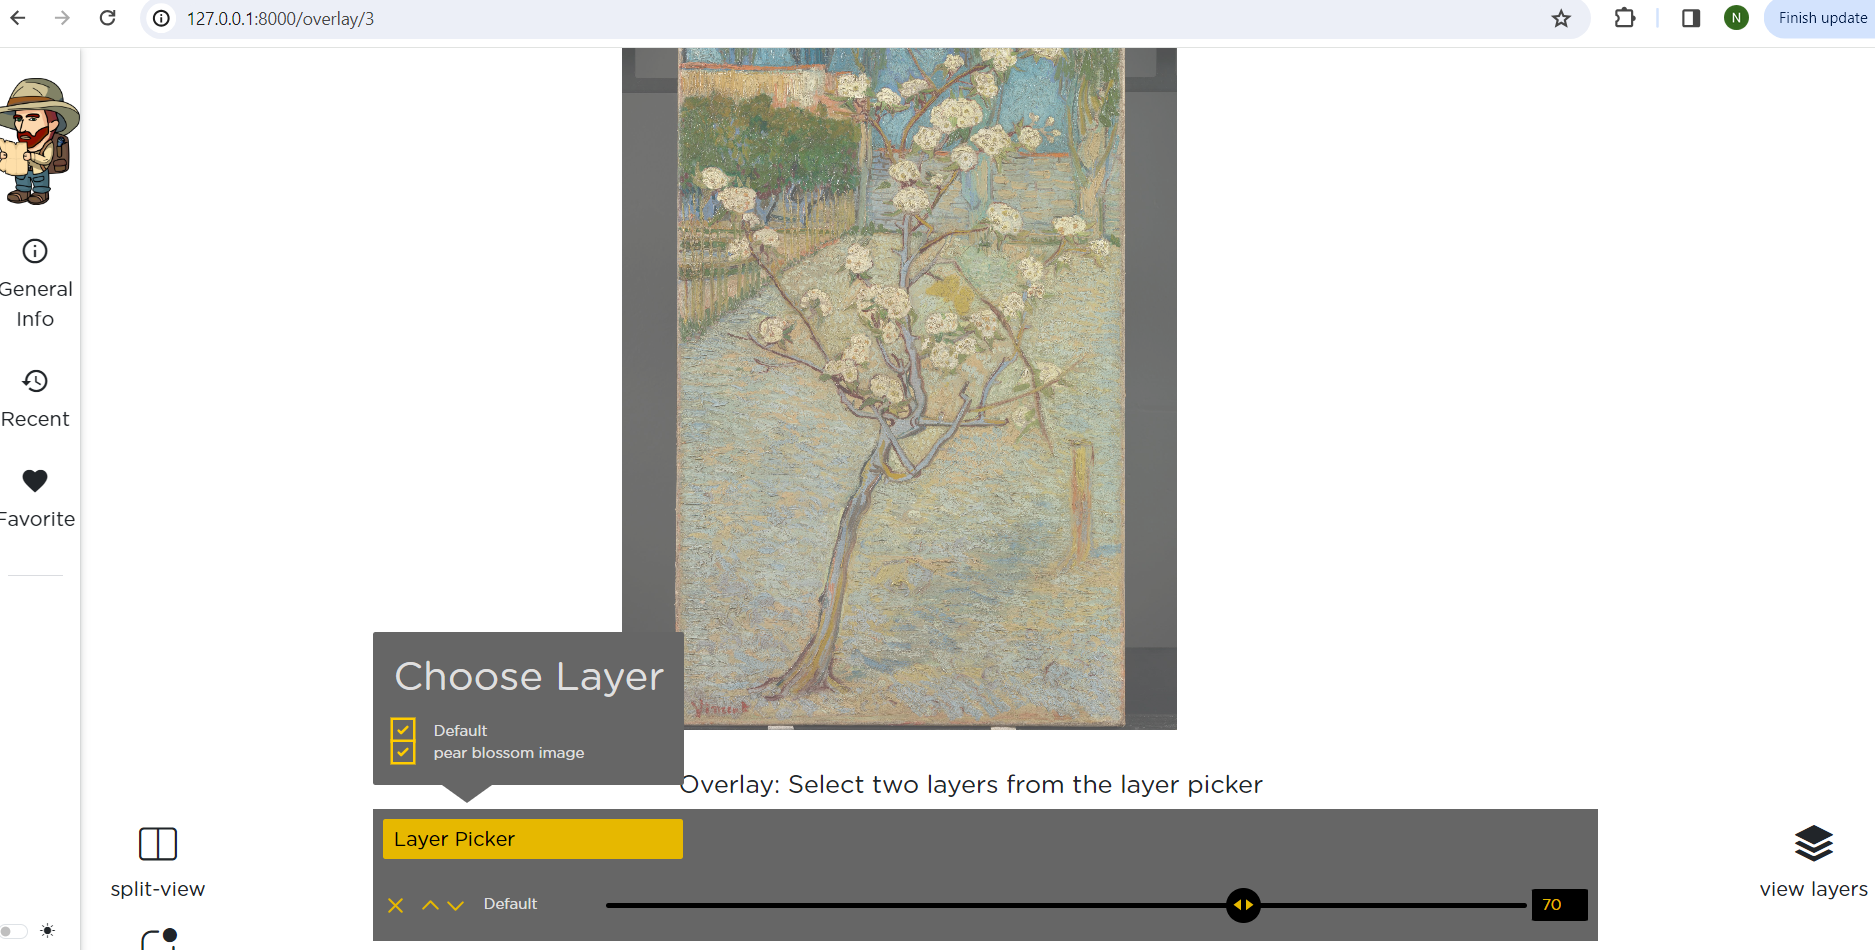
Overlay
The following image shows the overlay between pear blossom image and the default image. The slider can be moved horizontally.
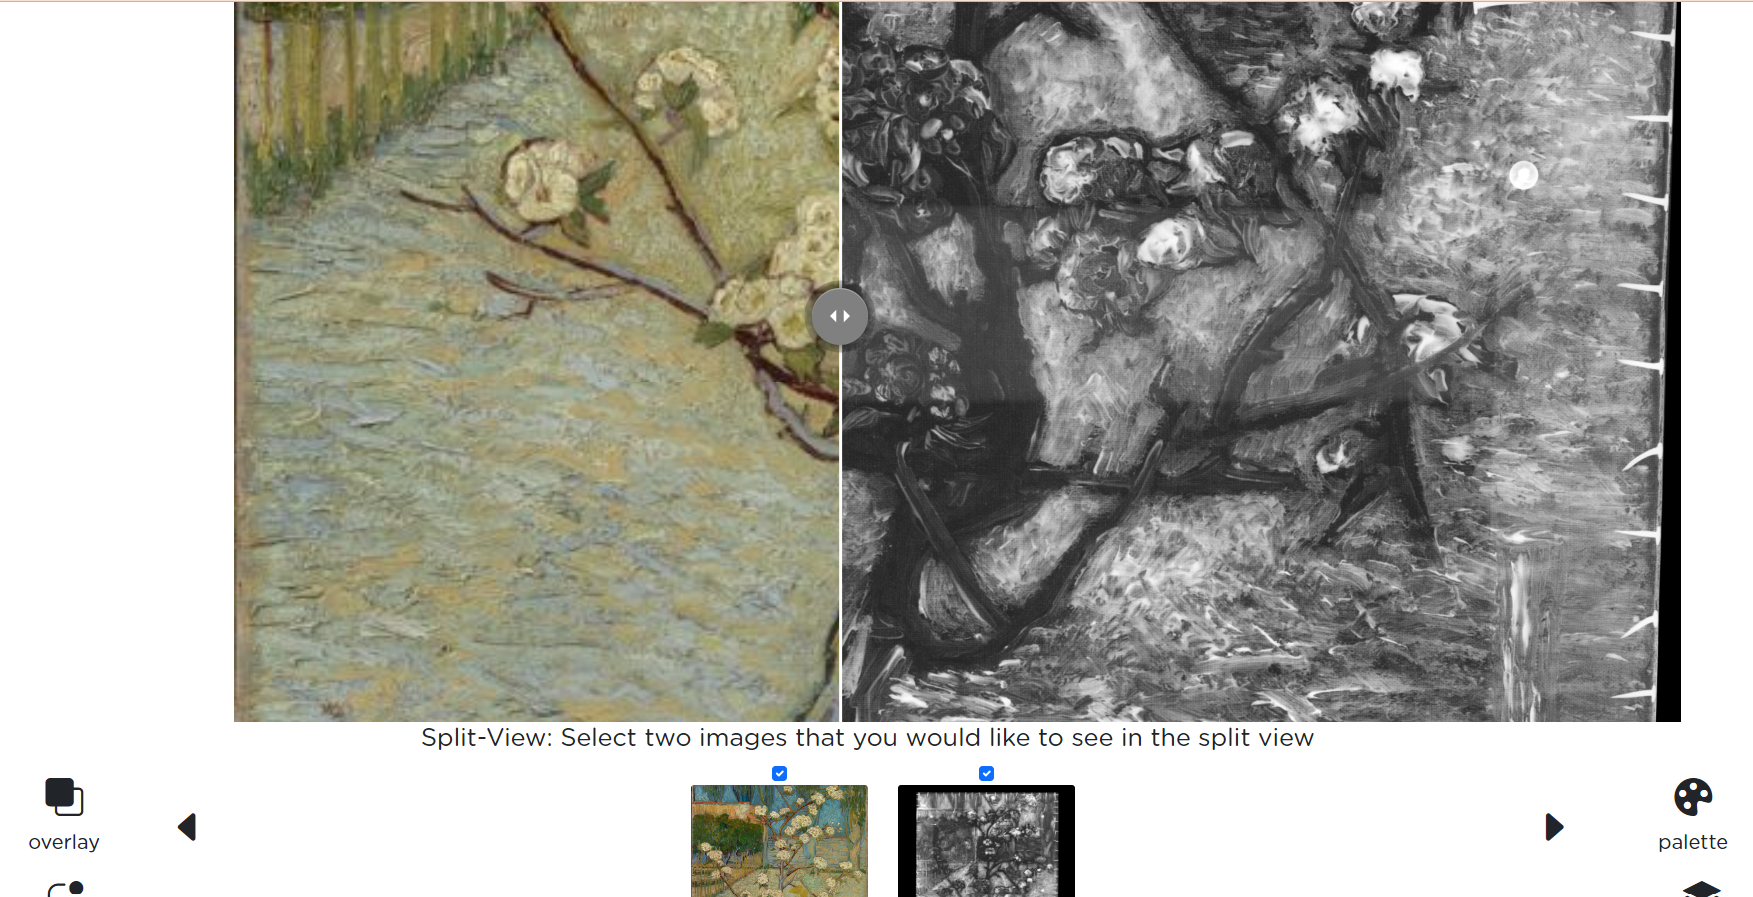
Split view
The images can be viewed in the split view as shown in the image below
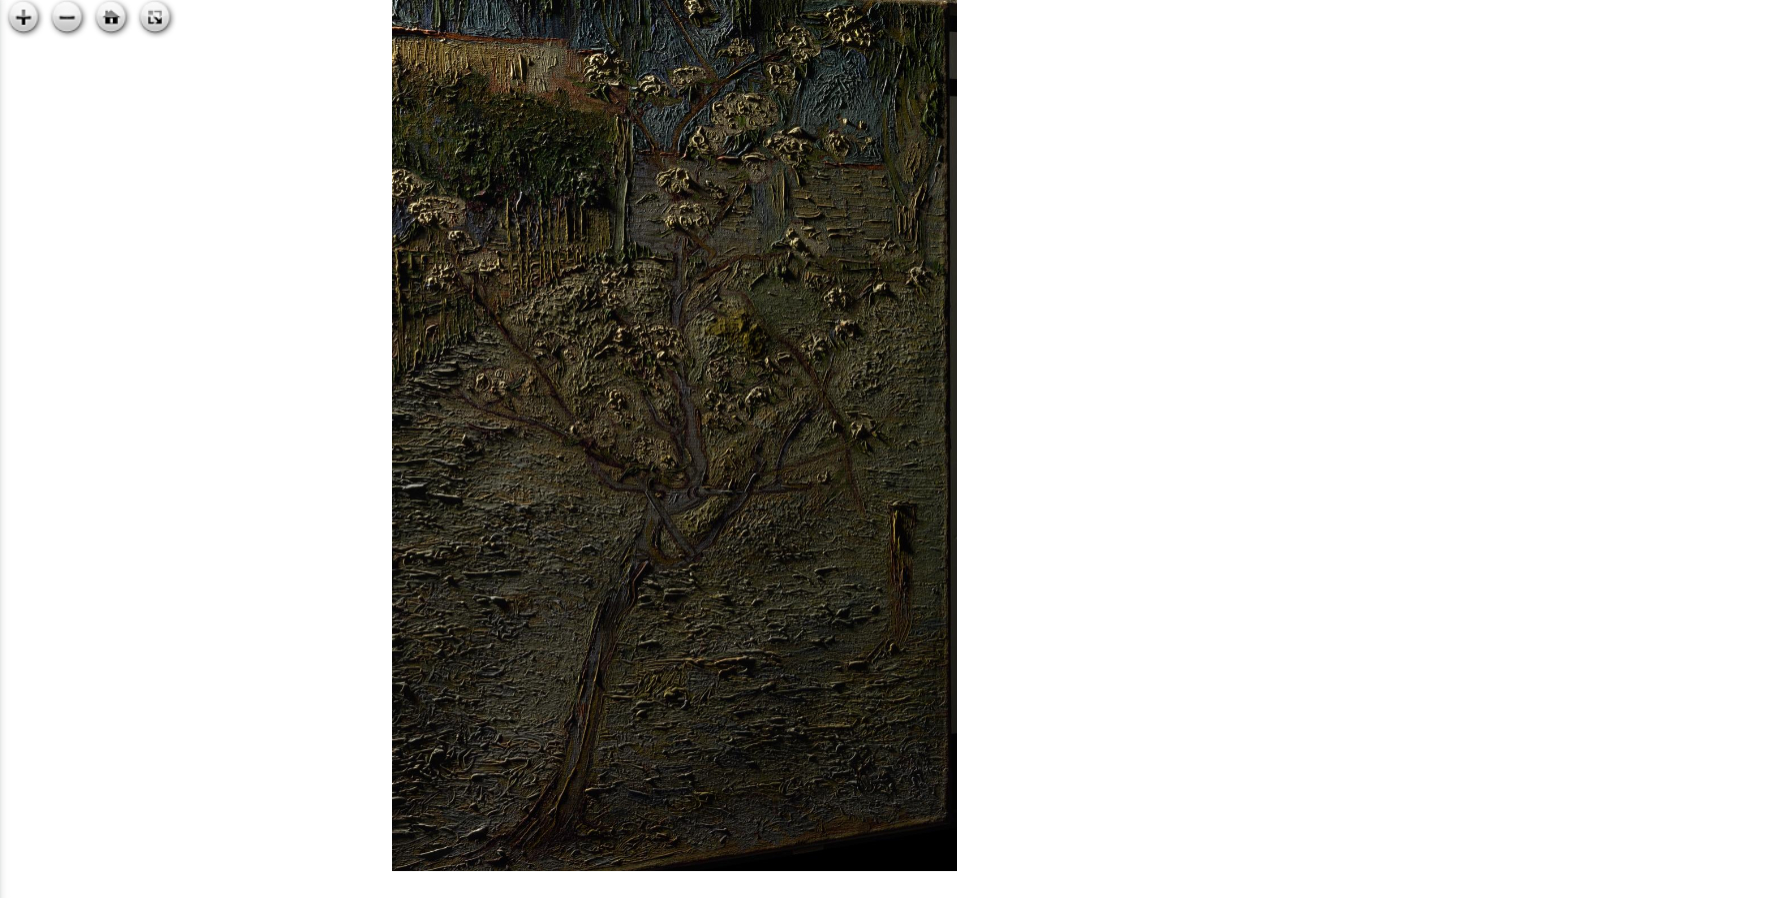
Raking view
After the images are uploaded in the painting section, along with the recipe, they can be seen in the raking view. Virtual raking is a feature in which we can see how the image can be viewed in various angles. So when we move the mouse around the picture, we can see how the picture is viewed in different angles.
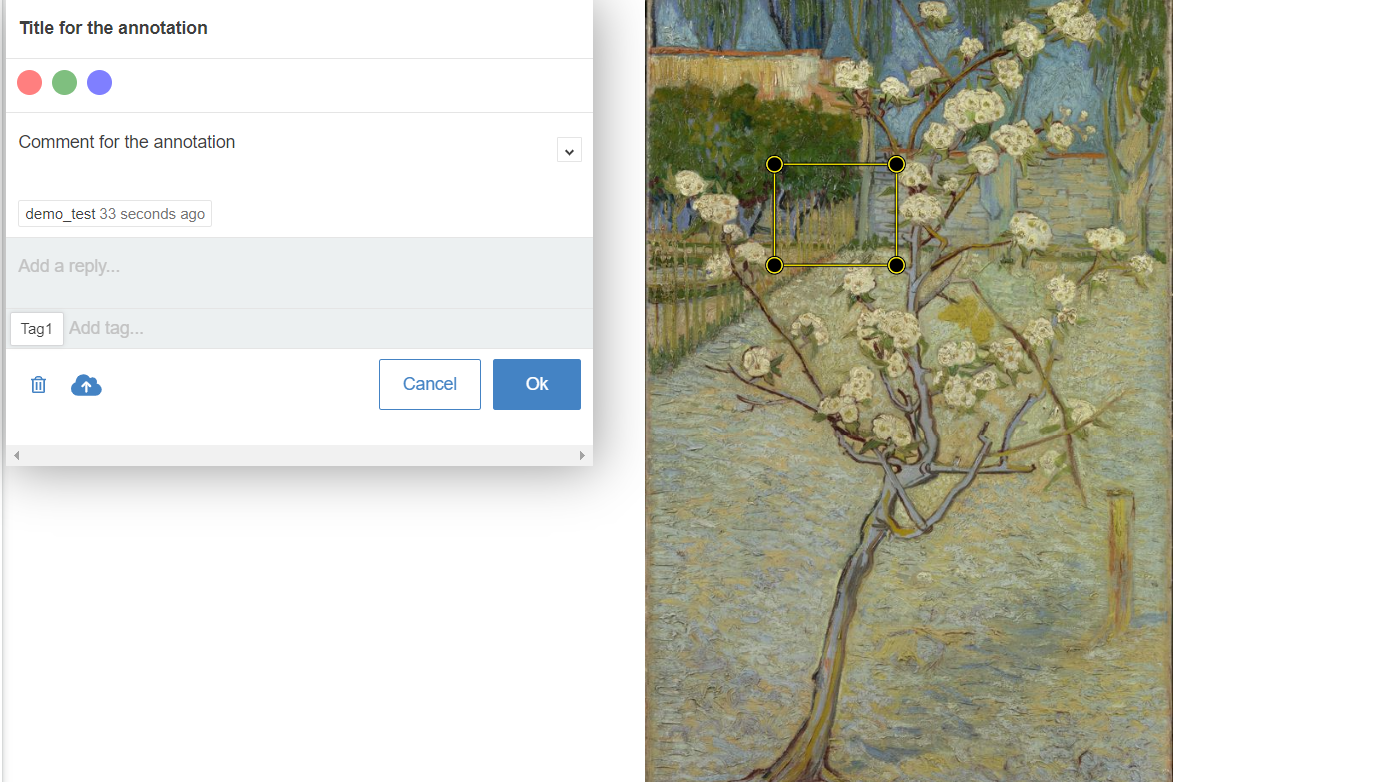
Annotations
In the painting viewer of the application, you can add annotations for different parts of the painting. The annotation can be given a title, comment and a tag. An other user can also add a comment.The annotation can also be deleted later. Images can also be uploaded into the annotation.
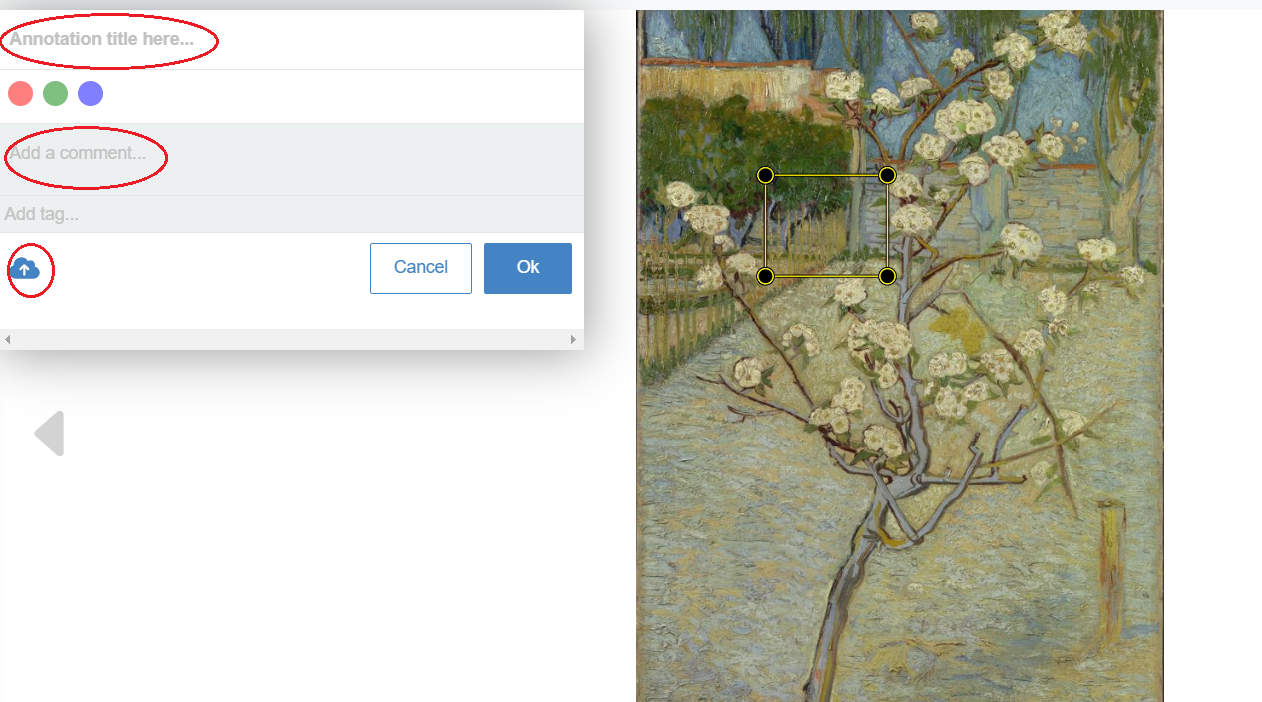
The comments circled in red are the features of the annotation. The changes in the annotation are real time. Tags, comments, title, pictures added by one user can be seen by others.
Developer guide
This section contains details about the architecture of the project
Architecture
In the operational decomposition of our application, we considered the runtime structure and interactions of its components. This view provides insight into how various elements of the system, collaborate during operation. By understanding the runtime dependencies and interactions, stakeholders can gain a comprehensive understanding of how the application operates in real-world scenarios. This understanding facilitates effective decision-making and optimization efforts to enhance the performance, reliability, and scalability of the system. Below is the component diagram of the application.

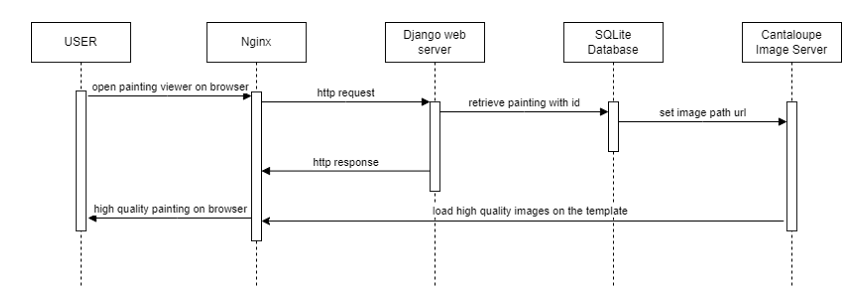
The below diagram shows the sequence diagram of the application on the server
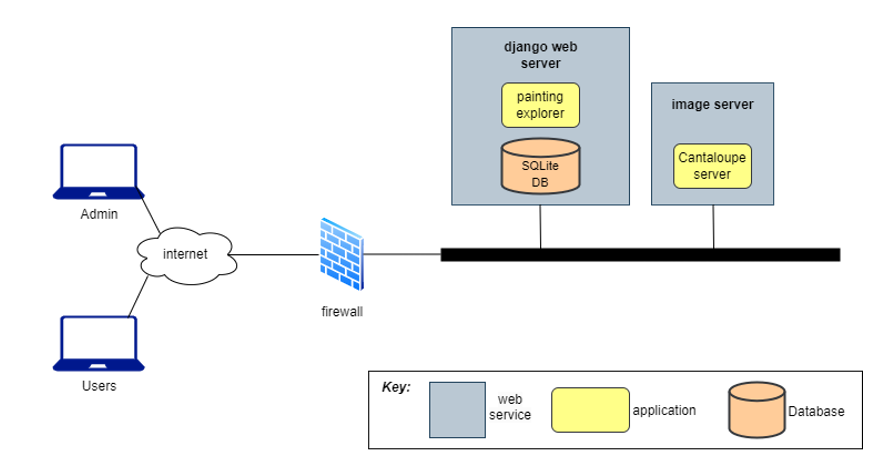
In our project's deployment view, we illustrate the physical arrangement of software components and their interactions at runtime. This includes showing the distribution of applications, hardware infrastructure, and their interconnections.Below the deployment diagram of the application on the server.
Instructions for local setup
Installation Prerequisites
- Python 3.11+
- Java 11+
- Git
Steps
- (i) Create a secret key
- a. If you are in virtual environment, first kill it: deactivate
- b. Go to painting_explorer folder, Open the shell to access django tools: python manage.py shell
- c. Create a random secret key:
- from django.core.management.utils import get_random_secret_key
- then print the secret key : (get_random_secret_key())
- Copy the created random key
- (ii) Go to painting_explorer directory, then create a .env file
- (iii) Paste the following items in the .env file: SECRET_KEY=YOUR_CREATED_SECRET_KEY_FROM_LAST_STEP DEBUG=True
Modules
Contains API endpoint documentation and information for painting viewer and user authentication. The files can be found under the modules link in the table of contents section.
© Copyright 2024, TU/e, Van Gogh Museum, ASML.